Equipments and Video Capturing for ClassX
This page provides some guidelines in equipments and capturing lecture or presentation video for ClassX.
ClassX is a new paradigm for online lecture video system, and is aimed at significantly reducing the cost of capturing and publishing educational videos. In particular, professional equipments and trained staffs are not needed, and the only cost incurred is the cost of the consumer-grade recording equipments (an off-the-shelf HD camcorder, a wireless microphone, and a tripod).
The following image illustrates the set-up of ClassX capturing.

Recommended equipments for use with ClassX
Capturing videos for ClassX requires a consumer-grade camcorder, a wireless microphone, and a tripod.
Camera
We recommend using a consumer-grade camera that supports:
1920x1080 resolution or higher, i.e., true 1080p
Progressive mode at 30 fps
24Mbps recording bitrate or better (MXP or its equivalent)
Some examples could be:
These consumer-grade cameras would cost less then USD 1000 in general and can be easily purchased from online retailer. Note that some camera models may capture interlaced video, but we recommend NOT TO USE interlaced-mode cameras, as interlace artifacts are noticeable and annoying in ClassX content.
Wireless microphone
Any good quality wireless microphones should be sufficient for audio capturing. One example is
The wireless microphone system would cost about USD 300.
Tripod
Any good quality tripod would work. The tripod would cost about USD 40.
Camera set-up and recording
Mount the camera firmly on the tripod and switch it on. Verify that the camera is recording in 1920x1080 mode (called MXP mode on some cameras, and HD-FH on others). If your camera supports PF30 frame rate, make sure it is set to that. Manipulate the tripod's knobs and pods to achieve a good camera position and attitude. A good position and attitude would:
Keep the camera safe from being accidentally hit or toppled by a student.
Keep the view as clear as possible from students entering or exiting the venue.
Capture the whole region of the scene which the lecturer may use, while at the same time avoiding insignificant regions and the audience as much as possible.
Leave the boards and slide screens upright and level in the scene.
Make sure lighting is sufficient in the scene. This is particularly important in situation when lecturers use blackboards.
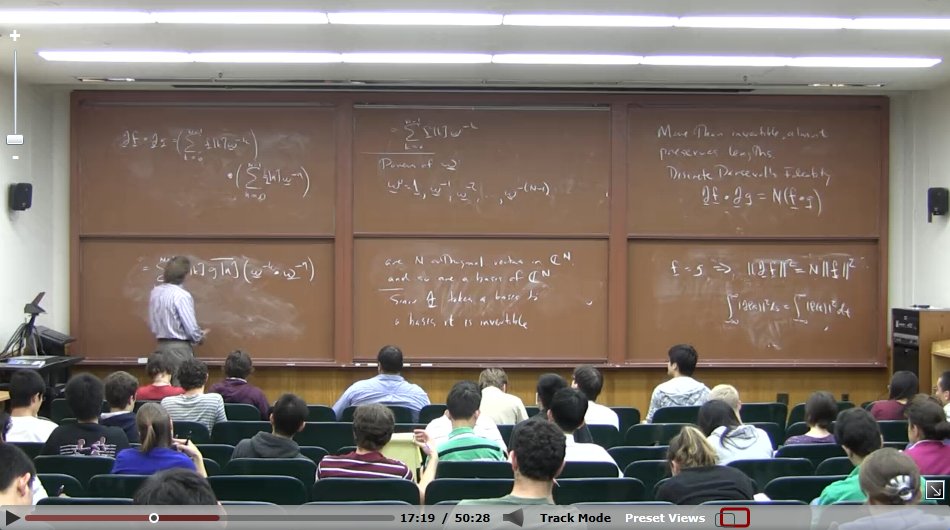
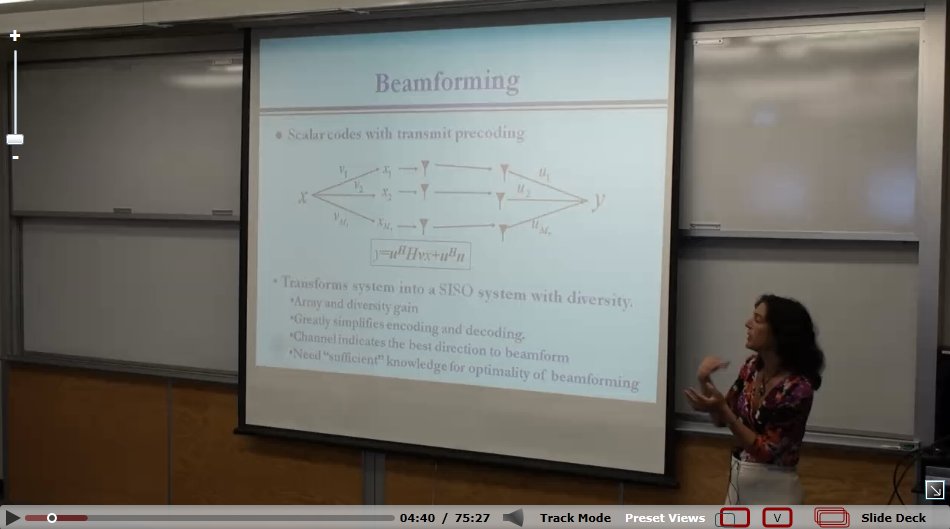
The following images illustrate some examples of good camera attitudes: entire region of the scene has been captured; boards and slides are upright; lighting is sufficient.

The following images illustrate an example when the boards and slides are tilted and this should be avoided if possible.
After the camera attitude is adjusted, make sure you tighten all knobs and latches on the tripod.
Connect wireless microphone receiver to audio input of the camcorder. Turn on the wireless microphone transmitter. Verify the transmitter and receiver communicates properly. Use the earphones to check the audio at the camera.
[Last updated March 29, 2011]